Jailbreak & Customize a Kindle 4 "Special Offers" edition May 16, 2026
The Kindle 4 (the classic 2011/2012 non-touch model with physical side buttons and a 5-way D-pad) is an excellent distraction-free e-reader. Even though this is a 14-year-old device, I have refused to upgrade to newer models as I've always appreciated the simplicity of this version's hardware and software. You can still purchase them used on eBay for around $30 with shipping. I cannot speak to the quality of other used Kindles, but the battery on mine is still superb, and it has no cracks or other problems.
However, you may end up with a "Special Offers" edition, which means you'll be seeing ads when the screen switches over to the screensaver. If the Kindle is kept offline, instead of seeing ads, you will see a generic screensaver telling you to update it to get the latest ads.
With a bit of effort, it is possible to completely remove this functionality. Although this guide does break the TOS and voids the warranty, it should be noted that the warranty expired long ago, and if you are purchasing a used Kindle, there is no warranty anyway.
⚠️ Disclaimer: Follow this guide at your own peril — you are responsible for fixing your device if you brick it. This guide assumes you're using Linux.
Step 0: Clean Up Disk Space
Make sure you have at least 100 MB of free disk space moving forward. That number is likely overkill, but it gives you plenty of headroom so that you don't run into issues. If your device is nearly full, updater binaries will throw "Update Failed" errors (Error 007 or even 006). Furthermore, the virtual network adapter may silently crash because the kernel lacks the execution memory to mount the SSH server.
Step 1: Install the Base Jailbreak
- Head over to NiLuJe's MobileRead Package Snapshots Thread.
-
Download the following archives:
- Kindle 4 Jailbreak archive (
kindle-k4-jailbreak-1.8.N) - Python 2.7 & Python 3.9 archive (
kindle-python-0.14.N-r18833.tar.xz) - USBNetwork Hack archive (
kindle-usbnetwork-0.57.N-r18979.tar.xz) - ScreenSavers Hack archive (
kindle-ss-0.47.N-r18980.tar.xz) - Extract each archive on your computer.
- Start with the extracted
K4_JailBreakdirectory: follow the instructions contained in theREADMEfile to jailbreak your Kindle. - If successful, you should see a "book" installed on your device that says "You are JailBroken".
- Kindle 4 Jailbreak archive (
Step 2: Install Python
- Navigate to the Python folder that you extracted from the Kindle Python archive and locate the
Update_python_0.14.N_k4_install.binfile. - Plug your Kindle back into your computer and copy the
Update_python_0.14.N_k4_install.binfile into the root directory of your Kindle. - Unplug your Kindle.
- Install the update: Go to Menu > Settings > Menu > Update Your Kindle.
- Your Kindle will reboot and install the update. Once you see a success message, the device will reboot again.
Step 3: Install the ScreenSavers Hack
- Navigate to the ScreenSavers folder that you extracted from
kindle-ss-0.47.N-r18980.tar.xz. - Plug your Kindle back into the computer and copy the
Update_ss_0.47.N_k4_install.binfile into the root directory of your Kindle. - Unplug your Kindle.
- Install the update: Go to Menu > Settings > Menu > Update Your Kindle.
- Your Kindle will reboot and install the package. Once successful, it will reboot into the main screen.
Step 4: Install the USBNetwork Hack
- Navigate to the USBNetwork folder that you extracted from
kindle-usbnetwork-0.57.N-r18979.tar.xz. - Plug your Kindle back into the computer and copy the
Update_usbnetwork_0.57.N_k4_install.binfile into the root directory of your Kindle. - Unplug your Kindle.
- Install the update: Go to Menu > Settings > Menu > Update Your Kindle.
- This is the last update we'll be installing. Just like the previous packages, wait for the success message and subsequent reboot.
Step 5: Remove the Ad Engine
Note: This is only necessary if you are dealing with a Kindle 4 "Special Offers" edition.
- Connect the Kindle to your computer and open the newly generated
usbnet/folder. - Rename the file
DISABLED_autoto exactlyauto. This instructs the Kindle to automatically initialize an SSH server over USB when it turns on. - Unplug your Kindle and restart it via Settings > Menu > Restart.
- After it fully reboots, plug the Kindle back into your computer. You'll notice that it no longer mounts as a storage drive. This is normal; USBNetwork overrides the standard USB functionality.
- Open a terminal window on your computer. Type
ifconfigto confirm thatusb0(the Kindle's USB network) is showing.
Once confirmed, run the following commands to spin up the virtual network interface:
sudo ip addr flush dev usb0
sudo ip addr add 192.168.2.1/24 dev usb0
sudo ip link set usb0 up
Log into the Kindle root shell using explicit legacy security overrides:
ssh -o KexAlgorithms=+diffie-hellman-group1-sha1 -o HostKeyAlgorithms=+ssh-rsa -o Ciphers=+aes128-cbc root@192.168.2.2Use the password mario to log in. Once you are connected to the Kindle via SSH, execute these commands:
# 1. Mount the filesystem as writeable
mntroot rw

# 2. Obliterate the active ad unit tracking directory
rm -rf /var/local/adunits

# 3. Create a blank flat file in its exact place
touch /var/local/adunits

# 4. Lock it down to read-only so the OS can never recreate the directory
chmod 444 /var/local/adunits
(Note: If the SSH session locks up after running these commands, don't panic. Just open a new terminal window and SSH back into the device).
Turn off the automatic network hijack so your Kindle behaves like a normal flash drive again when plugged in:
mv /mnt/us/usbnet/auto /mnt/us/usbnet/DISABLED_auto
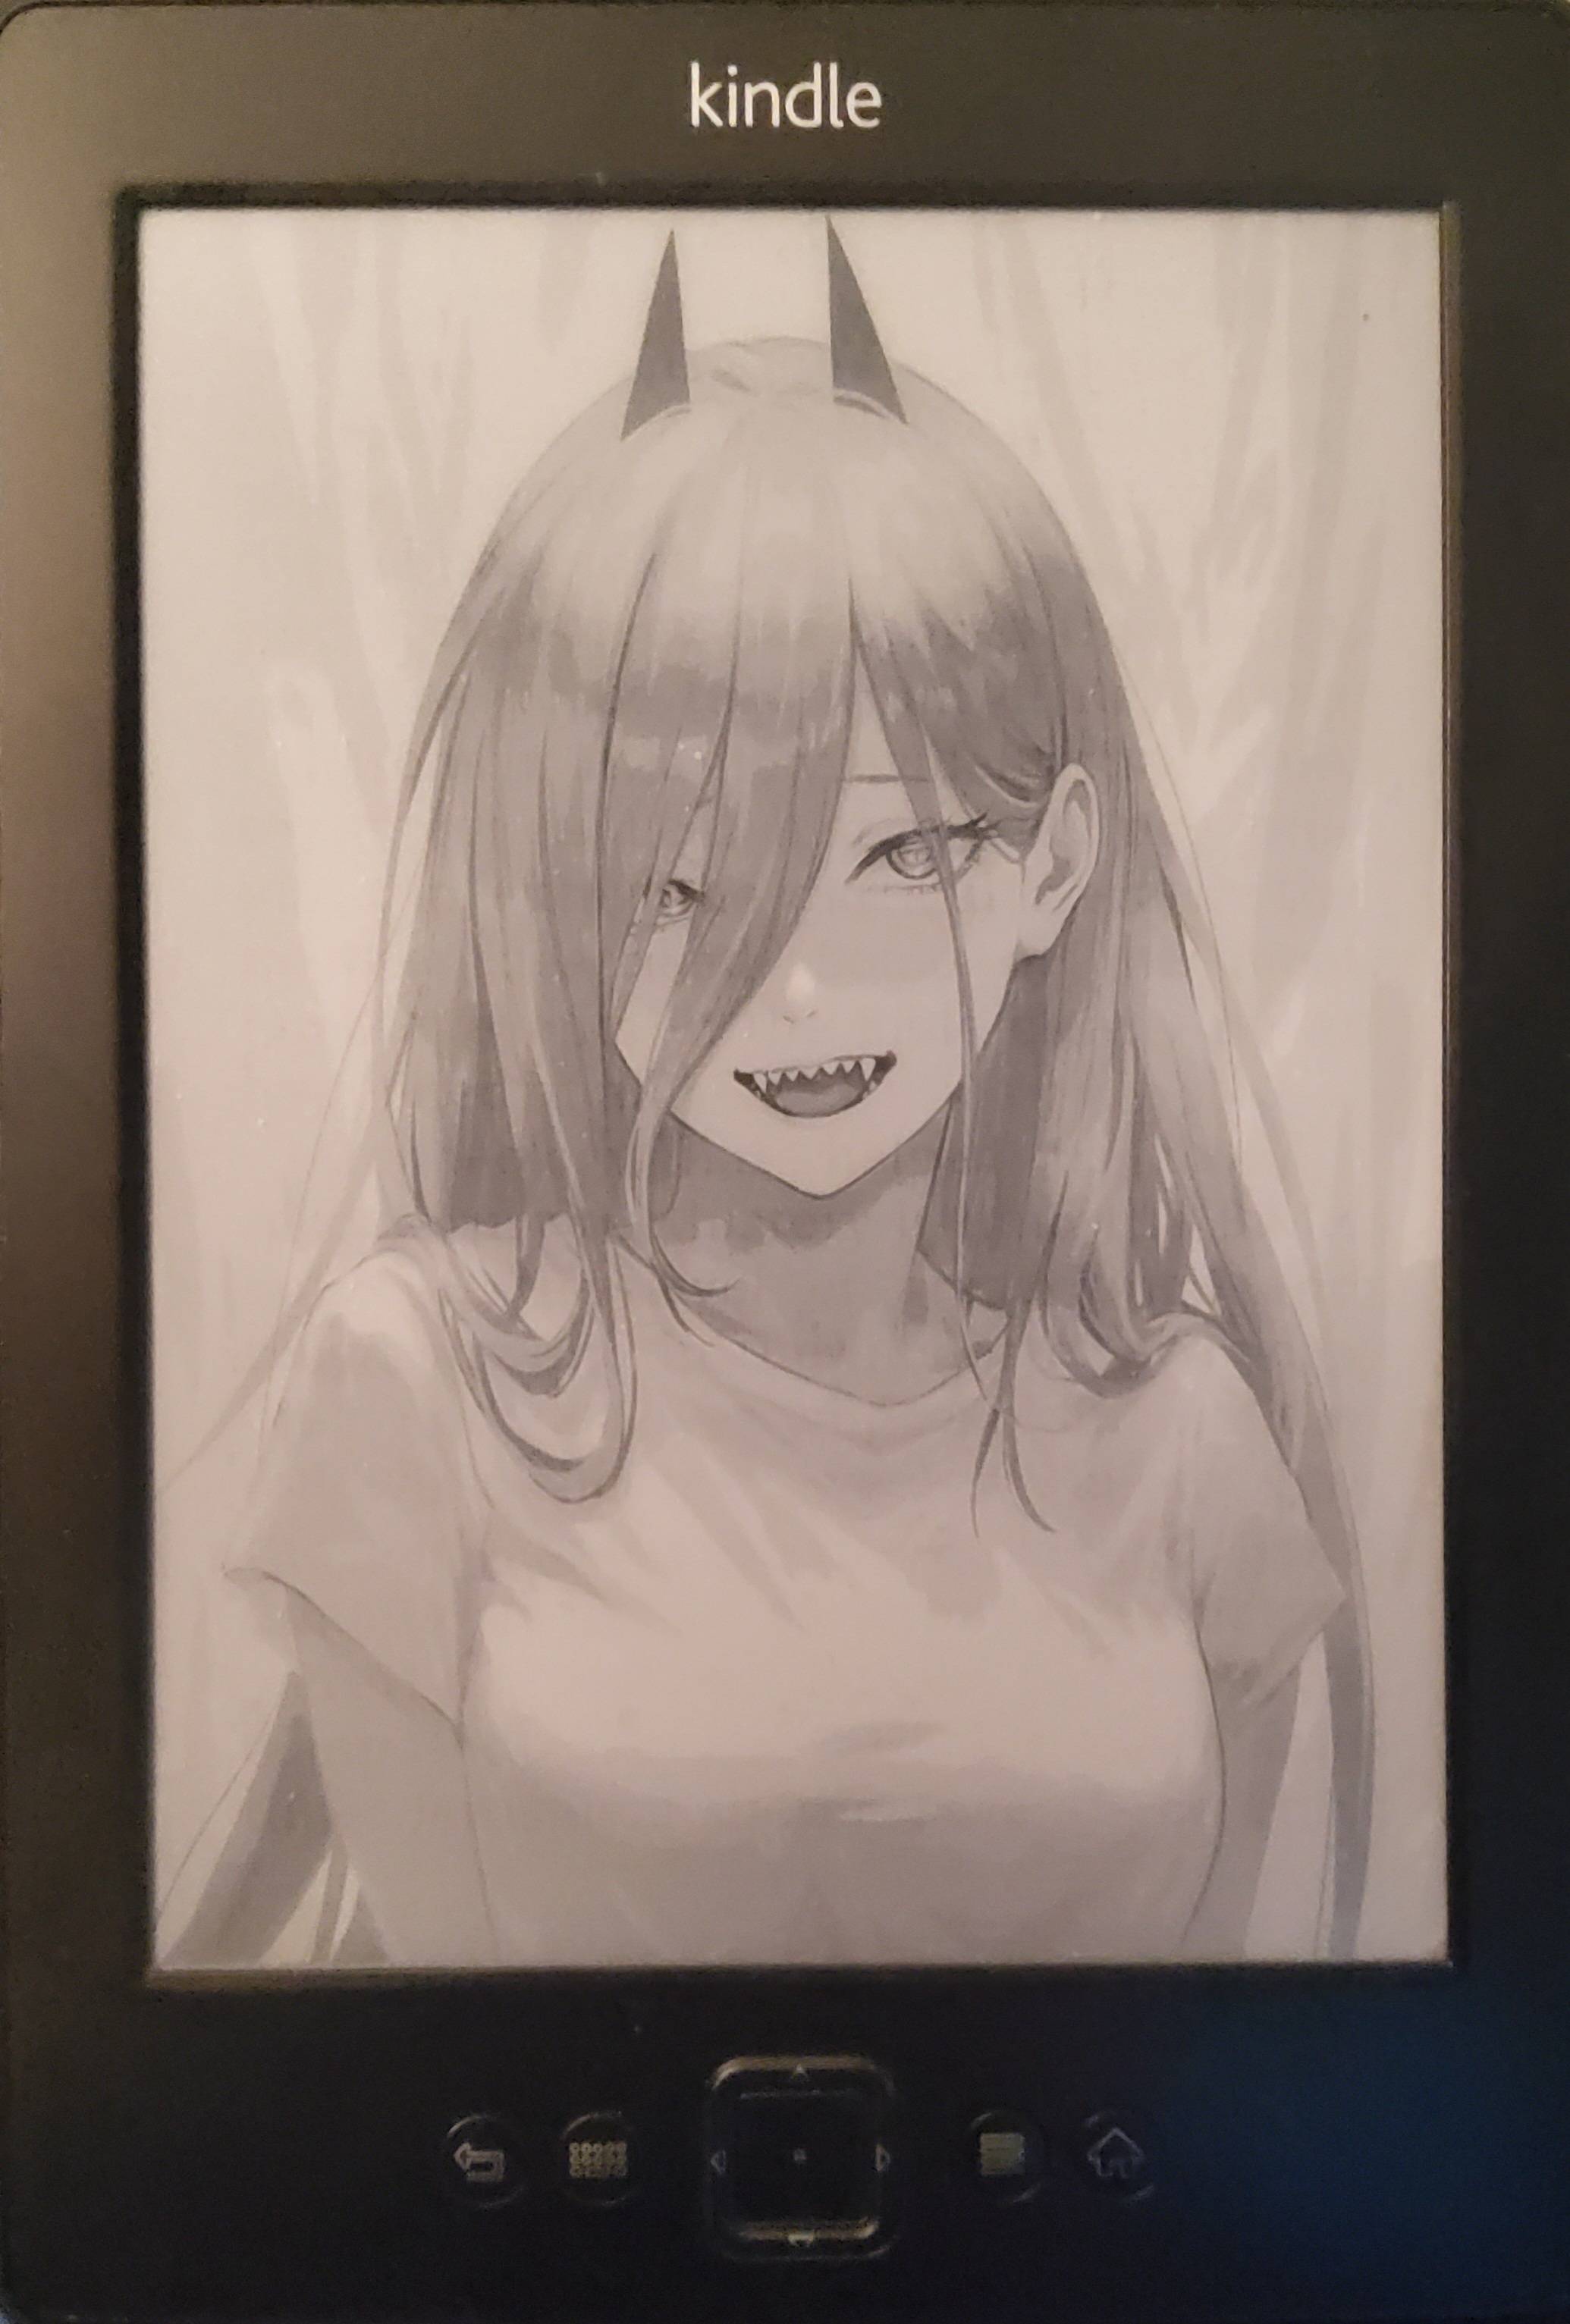
rebootStep 6: Add Custom Screensaver Images
Your Kindle 4 should now behave like an ad-free version! You can now prepare your own images to test out the custom screensaver functionality.
Image Requirements: For best results, use 600x800 resolution, 8-bit grayscale PNG images.
- Plug the Kindle into your computer.
- Navigate into the linkss/screensavers/ folder.
- Drag your prepared PNG files into this folder.
- Lock the Kindle to see your custom screensaver. Each time you lock the screen, it will cycle to a different image.
If everything went well, you should see a different screensaver each time you lock the screen.
Latest posts
- Jailbreak & Customize a Kindle 4 "Special Offers" edition May 16, 2026
- Chess Wizard April 21, 2026
- The First Take and Phantom Sita April 18, 2026
- New Galfy song: DANG JEALOUS April 16, 2026
- My Recent Projects April 16, 2026
- The Tragedy and Triumph of killwiz April 8, 2026